How to Take Care of Your Cannabis Seedlings
The Germinating stage has always been known amongst those I know to be the most challenging stage of all growth. So delicate, so uncertain. There are a number of reasons that this stage can go wrong for you. There are a number of methods to germination, and in this follow-along I’ll show you the three that I’ve done. Not all were effective for me, and as I’m writing this, NONE have been effective for me, but I should be fair as they are only a day into the process.
Method 1 - Left in a glass of Water Overnight
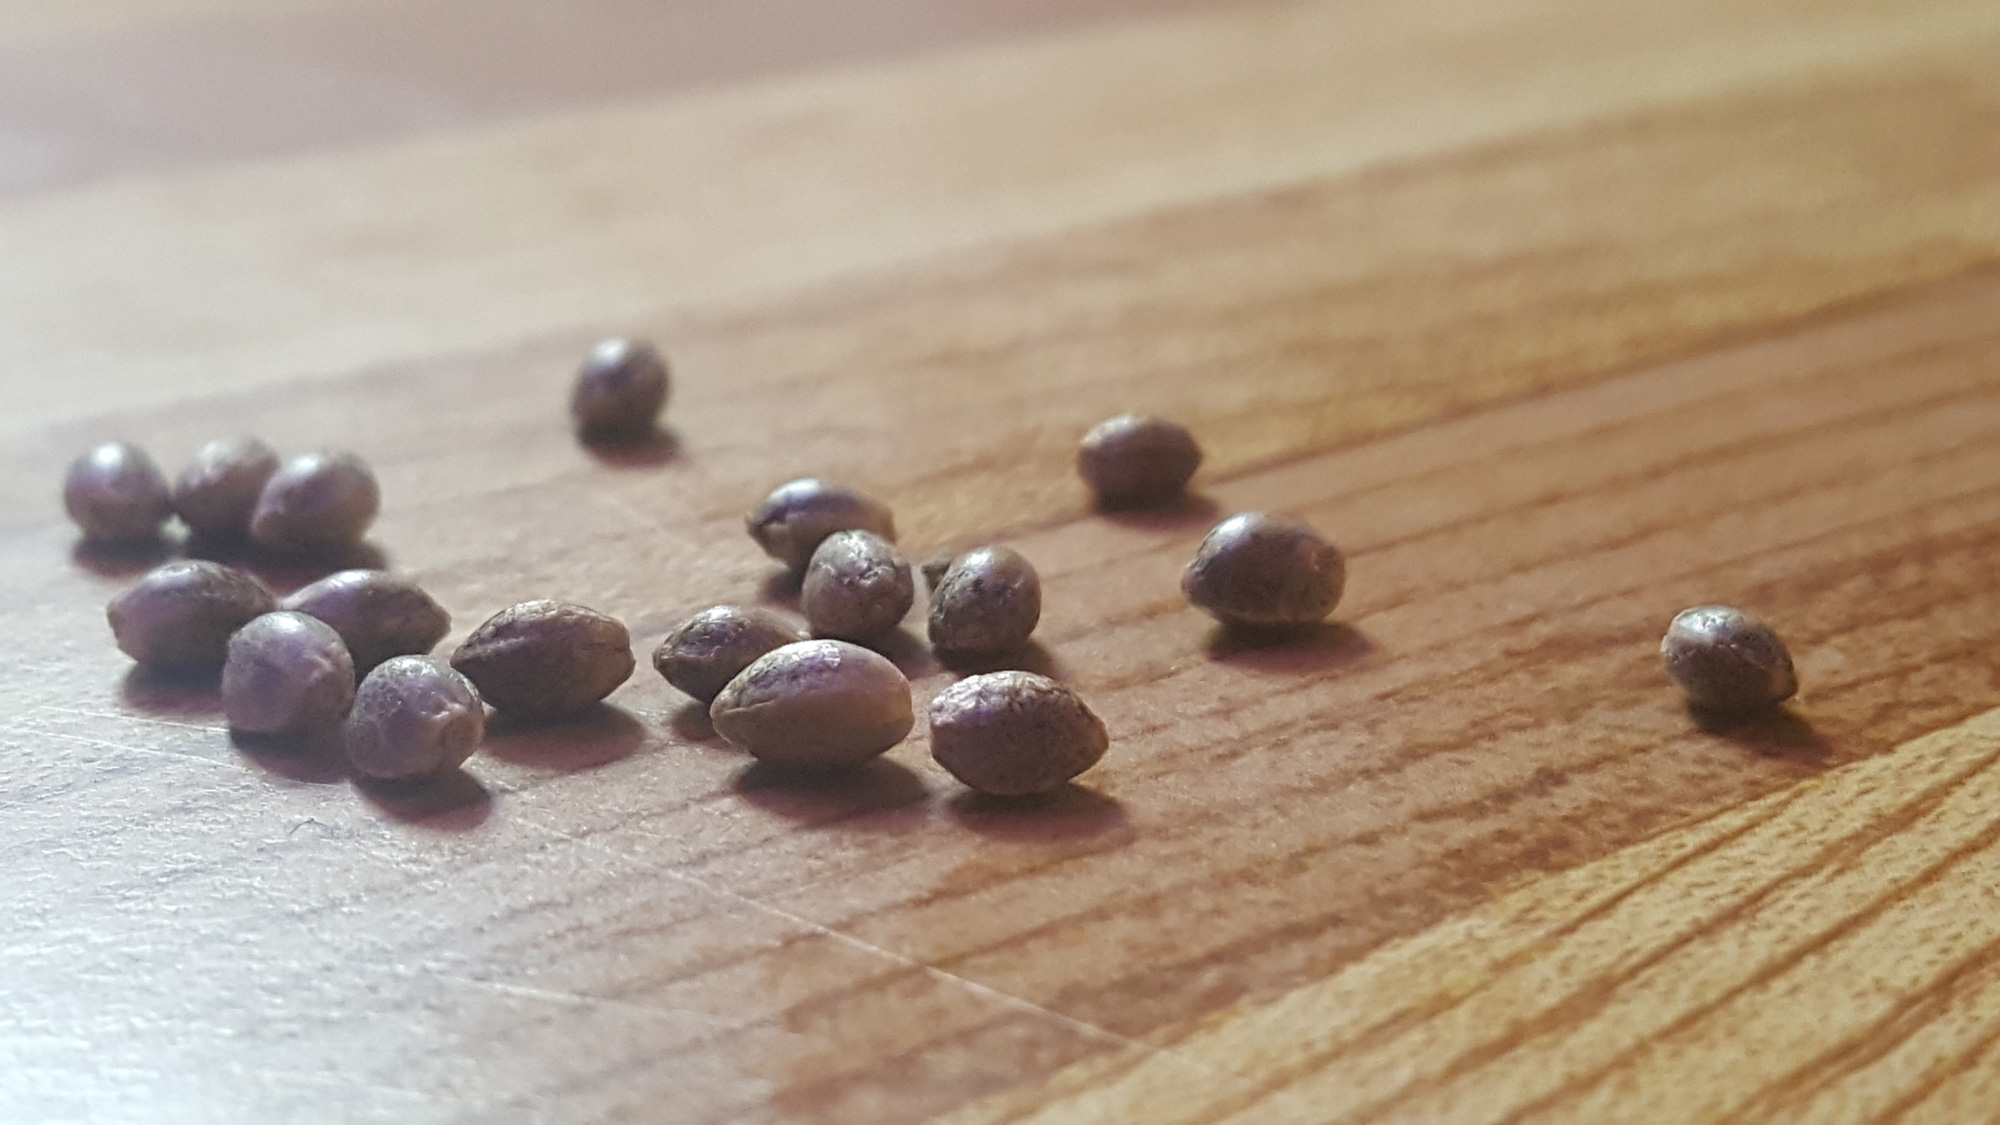
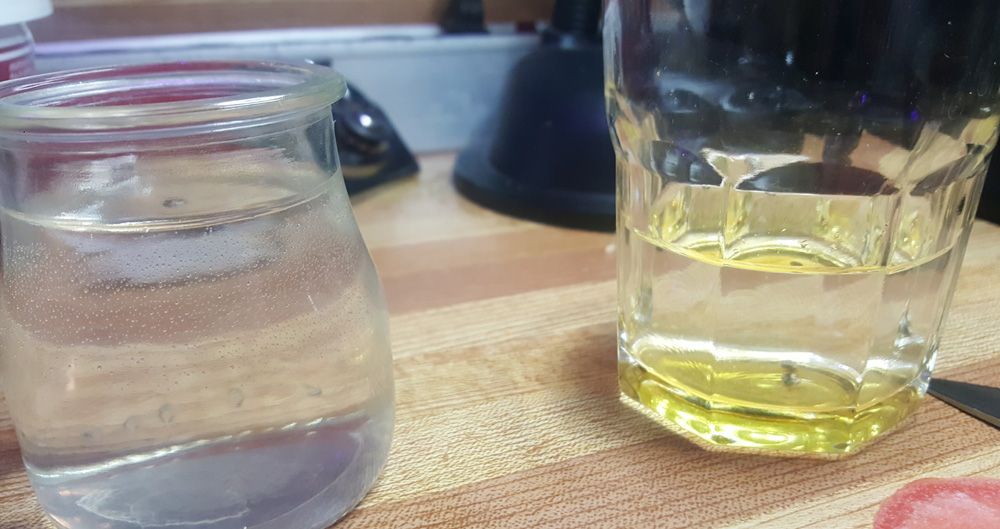
I read online that one effective method, especially for older and harder seeds was to leave them in a glass of water overnight. It’s supposed to wake them up and tell them to stick their stem to the sky. It is recommended not to perform this method for longer that 24 hours on the seeds, as you can drown them. A few began at the top, but sank to the bottom of the glass over a certain time. I wasn’t able to find out whether it’s best to leave them in darkness or in light, so to be a good little scientist, I did both. Two were left underneath a led light, and 4 were left underneath a tiny cardboard box.
The seeds were left overnight, were checked on first in the morning at about 6am, and no sign of any taproot. I went off for work and when I returned,
I was alerted to the fact that my lovely Erin did me the honour of trying to clean up that cardboard box. The 4 seeds were spilled everywhere! Oh no!
She had filled the cup with more water and found 3 of the 4 seeds. Alas, it was not to be. By 10pm that night, at the 24-hour mark, they were still
in their shell. A few had floated to the bottom, but it wasn't enough. No taproot.
Not to be one to give up, I added these seeds to the list of my second method…
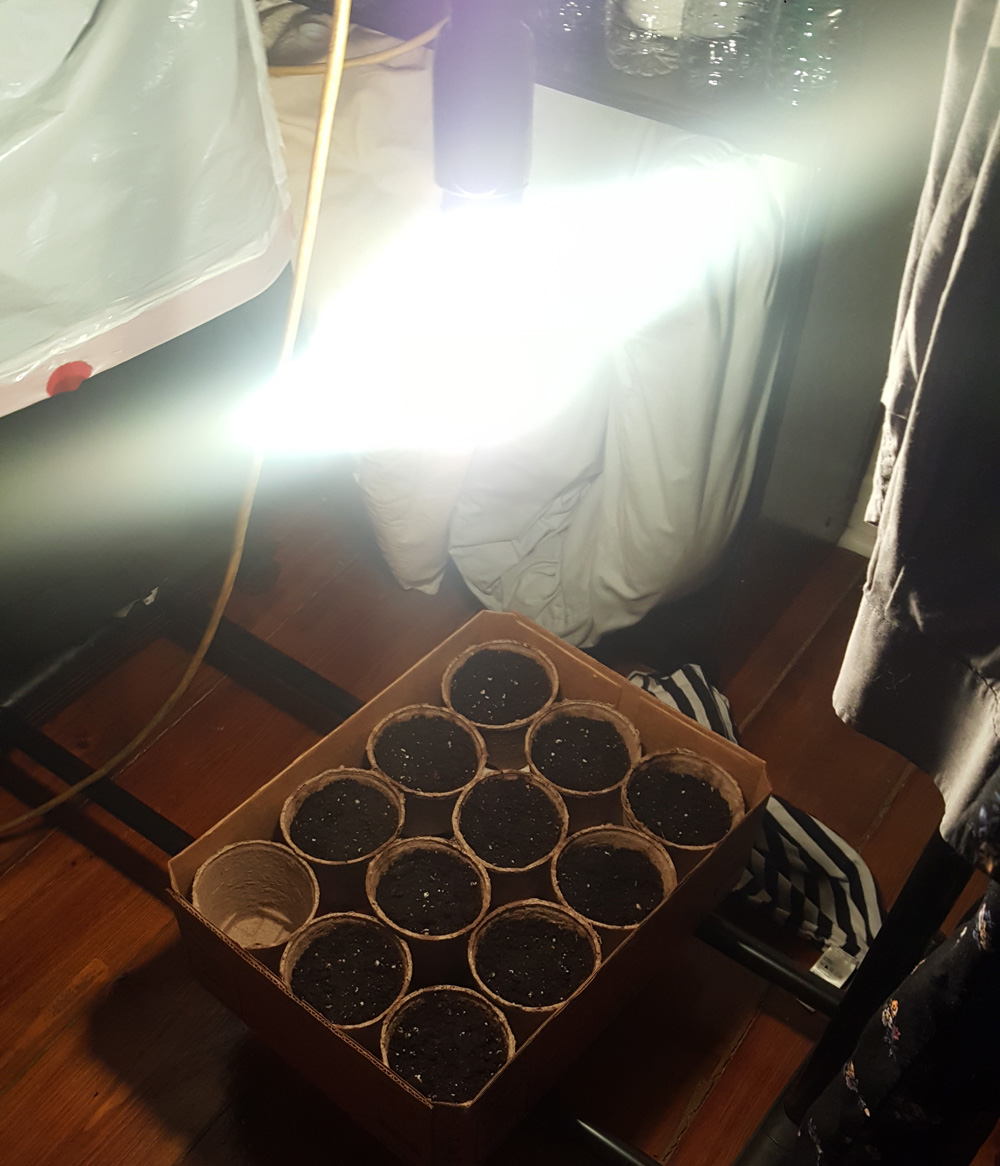
Method 2 – Just Put Them Straight in the Soil
There was plenty of reading about how ‘the good ol’ fashioned way’ was just putting them about 0.5-1 inch under the soil and keep them slightly damp and in a warm spot.
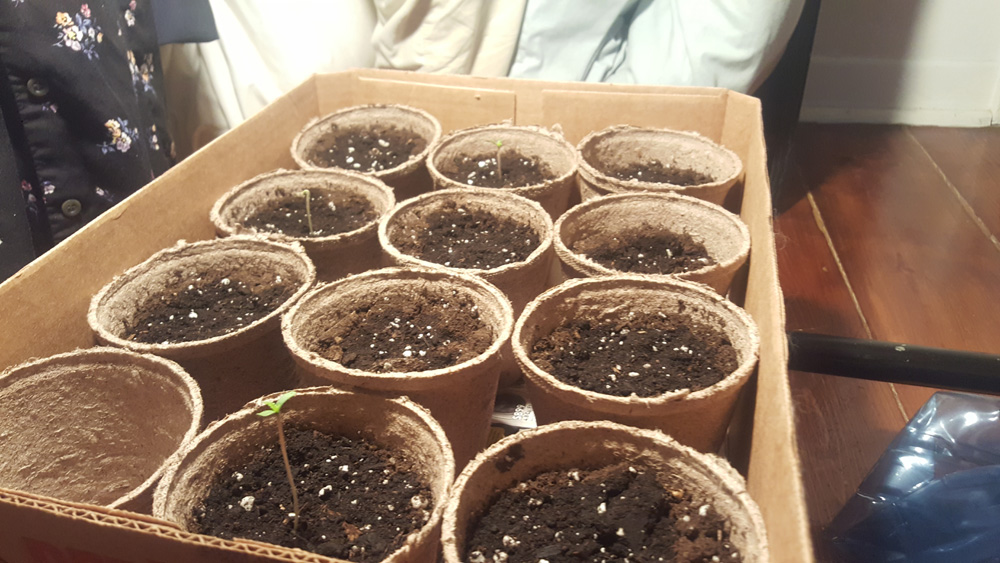
Easy enough! So, I put them in alongside another 6 seeds. I took small peat pots and filled them with soil, and gave them their own little box home.

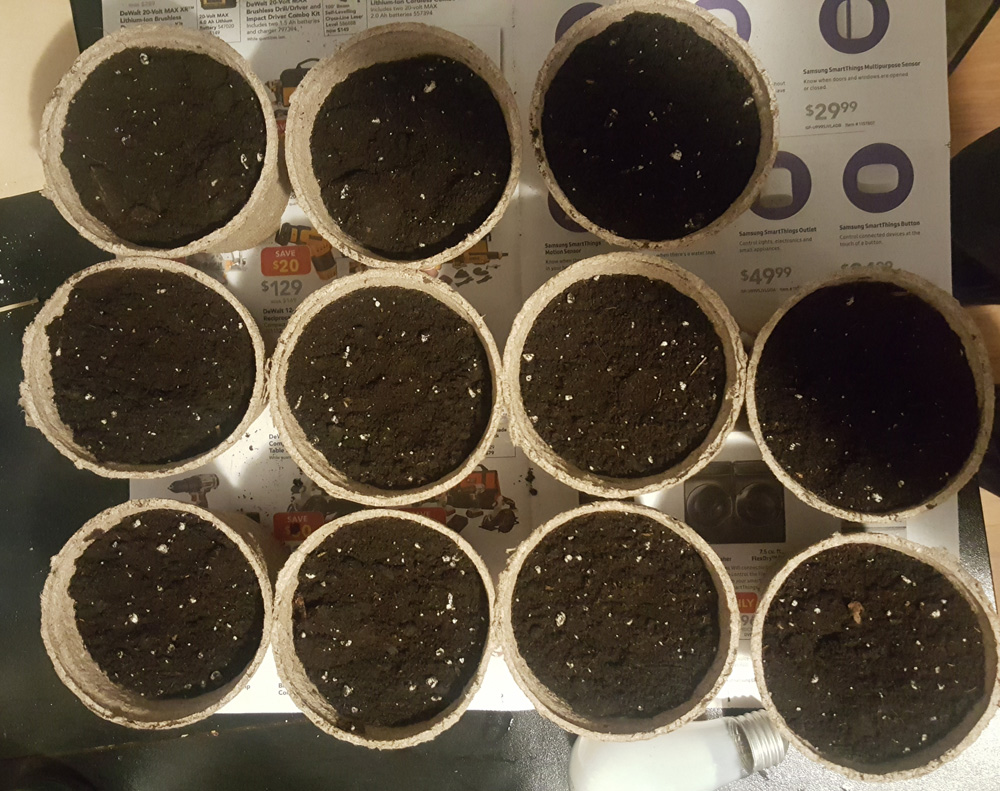
After adding the seeds into each pot (I made a tiny little pinky finger hole in the soil so my whole fingernail was covered) the next step was to place the little seed
box under a source of light. It wasn’t much, a clothing rack and a cars trouble light with a 60W light bulb. I couldn’t see anywhere about how much light to give them,
so naturally I tried to give them the amount they would get outside (in a warmer climate). About an 11 on-13 off schedule.

And alas, it worked! The first sprouts came through after 4 days in their spot in the light. This was the first sprout upon first sighting in the morning. By the time I arrived home that night, two more had begun to push through the dirt. 4 days in, and 7 of the 11 had bursted through the soil. It looks as though this has been my favorite of the methods so far! Efficient, and easy. Had to dribble water on the pots each evening and morning, nothing more than anywhere between an eigth and a quarter cup of water. No reason not to do this again in the future as far as I'm concerned. That will lead us to testing the third method, though. I still need to test the last 6 seeds and assess their ability to germinate in damp paper towel. Click here to follow seedling stage
Method 3 – Paper Towel
So, this method is supposed to be effective. Cheap paper towels dampened, and the seed placed inside of them. I thought it would be a good third method to try. I got two large sheets and wet them so much that they weren't soaked, but were wet all over. I put the seeds on top of the one sheet, and covered it with the other.

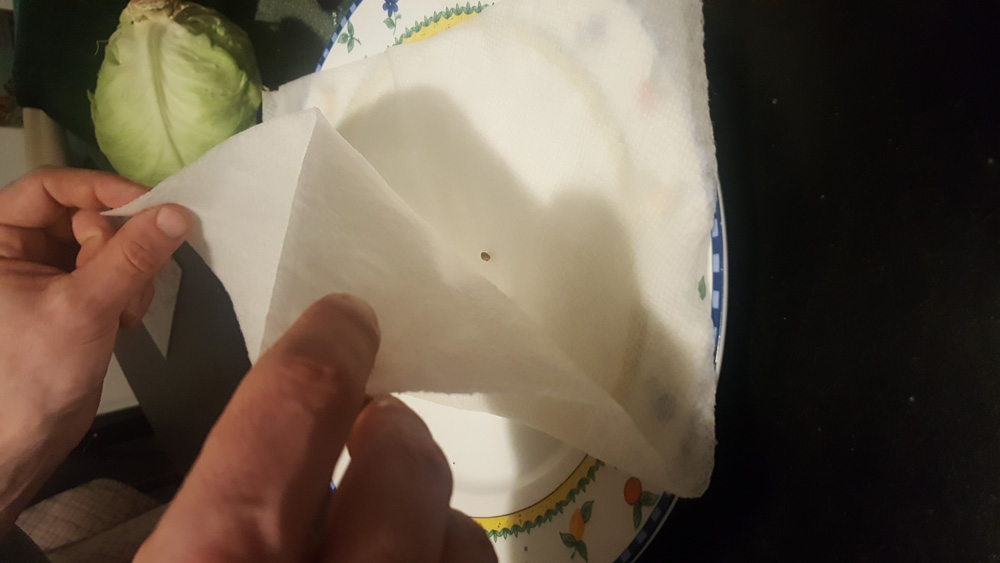
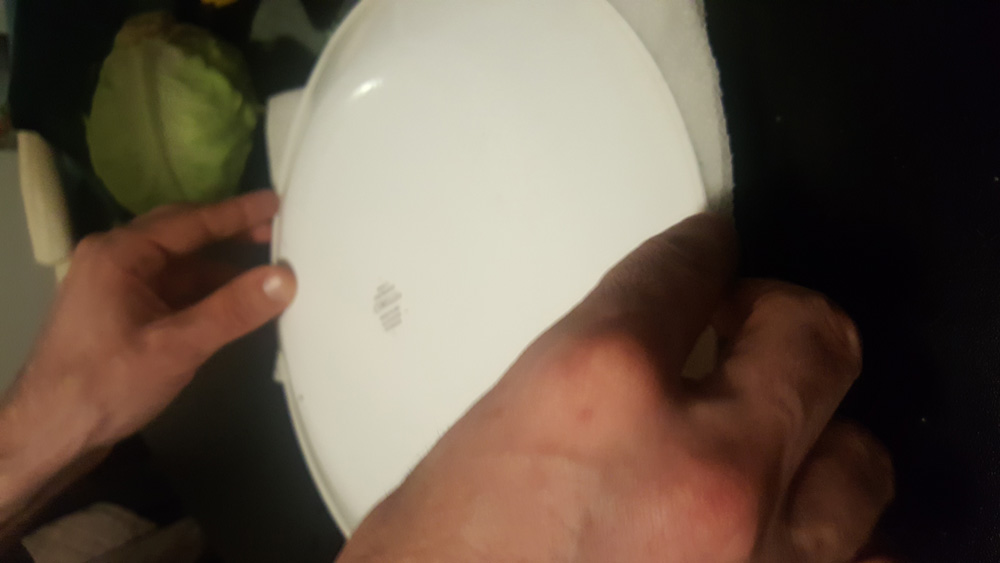
After placing them on the paper towel, fold it over gently so they soak the seeds, and then place a plate over the other plate sealing in the moisture. That helps to keep the paper towel damp.
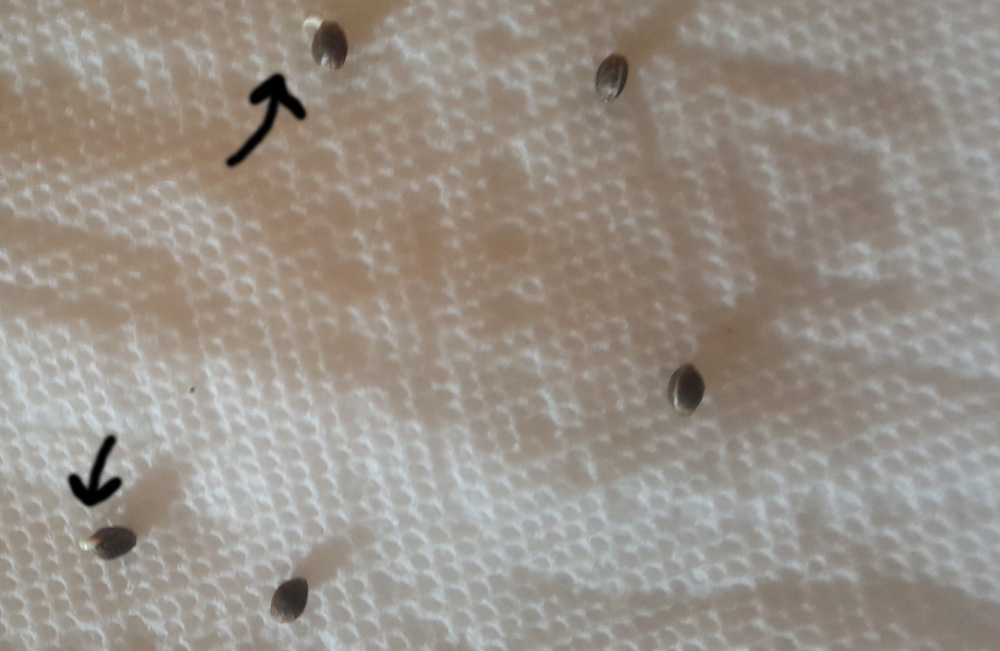
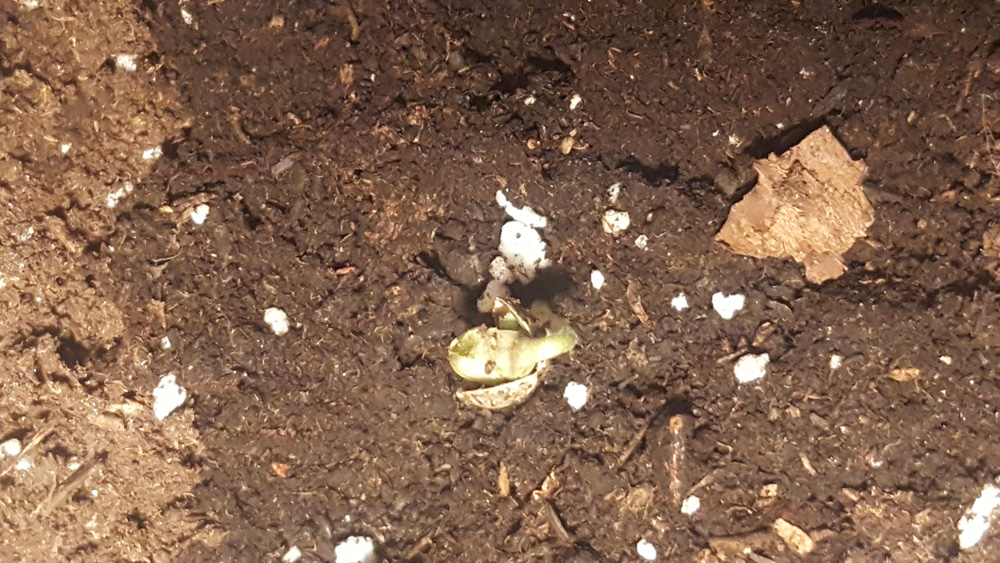
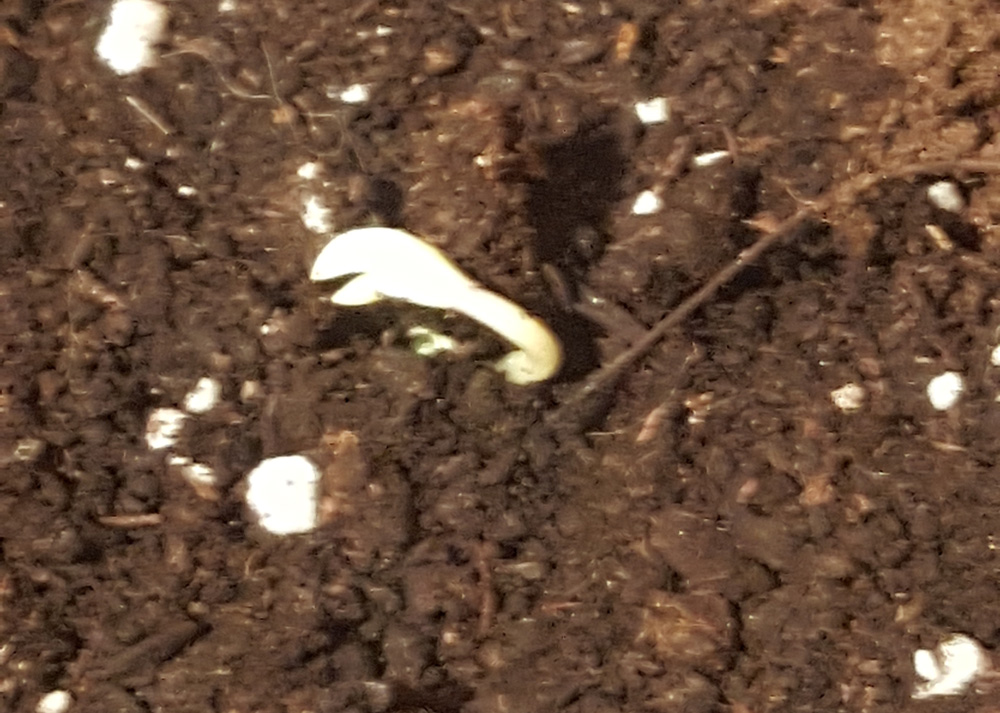
It wasn't quite the fastest method, but within 3 days a pair of the seeds had sprouted tap roots through their seed. This allowed me to place them into their own pots.
Seedling Sprouting
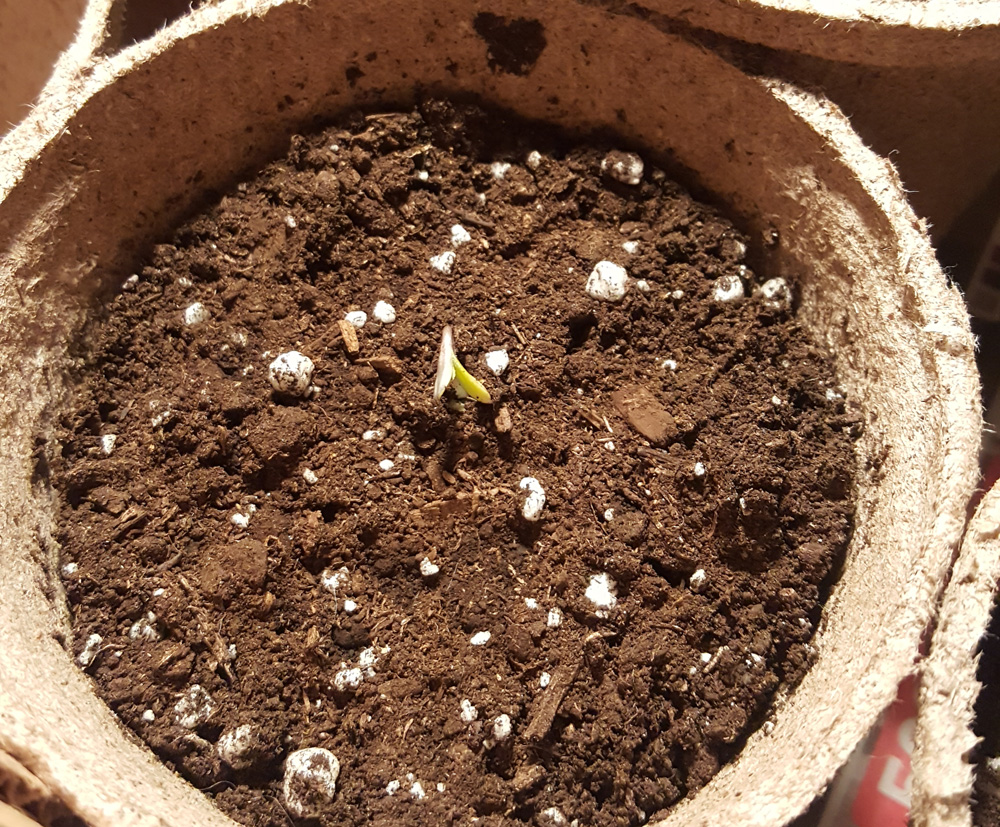
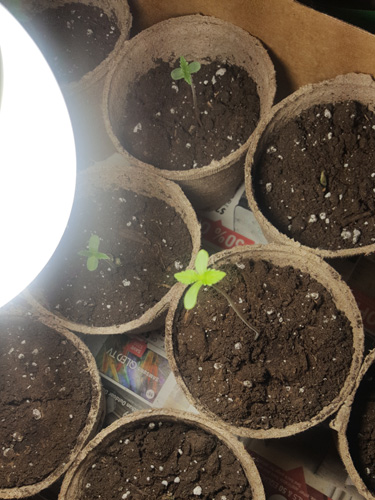
Well, I've finally gotten it to the stage that they're in the pots, and the seeds will be popping through as little leafy sprouts any moment now. After checking each morning for a couple of days, I finally saw it...


The sprout pushing through the seed and coming through the dirt! Such a majestic sight when you weren't even sure anything would happen. The steps followed where the shell was breaking away from the plant, and the first few leaves began to sprout. Two round leaves. At this point I was trying to water once daily, not too many times whereas to drown them(for more information on watering, go to the page detailing how to water through stages). Eventually, the sprouts began shooting up!
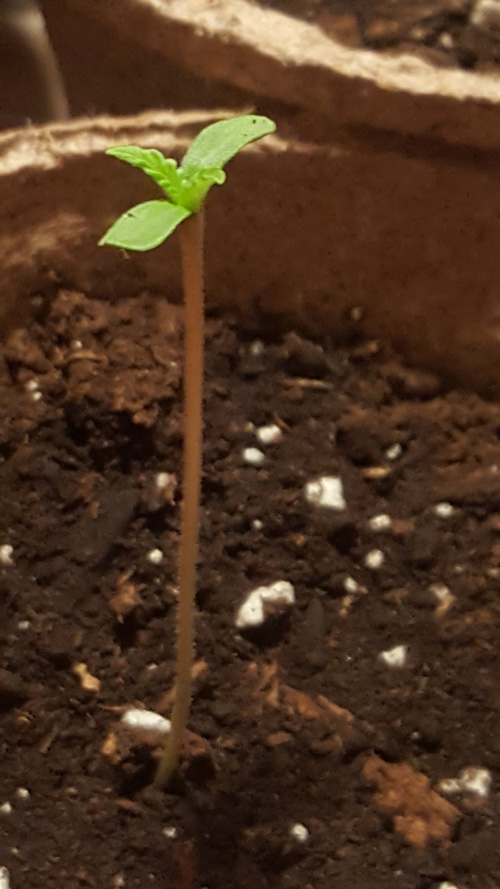
Now, when it got to the height shown in the final photo, I started to question the length of the stalk and no growth on the foliage side. I researched and was told it was in regards to its lighting situation. There wasn't enough light! I read a recommendation of a 200W white light LED bulb. When at the store, they had 100W or 250W bulbs. I picked up a 100W bulb and hoped for the best! After plugging it in, I immediately noticed my plants perking up slightly.

Currently, some seeds are trying to come through the dirt still, and one even had a taproot come out through the dirt instead! Poor seed, trying to figure out gravity.
The first few days when the stretch stopped and growth began still included a fraction of stretch.

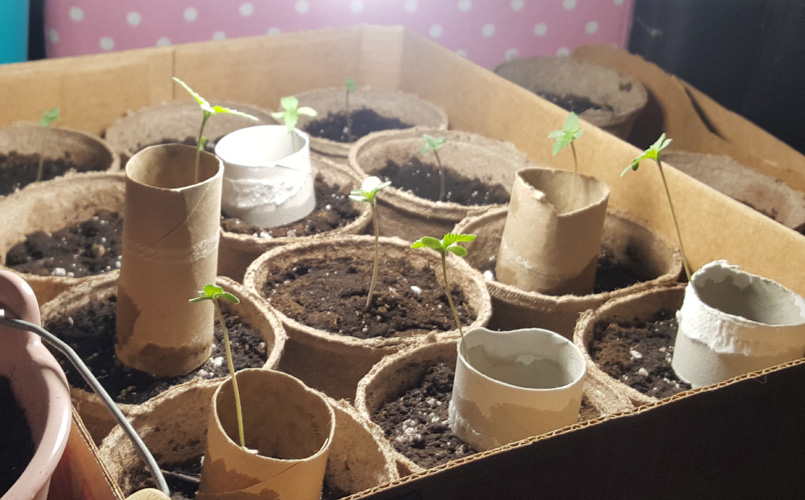
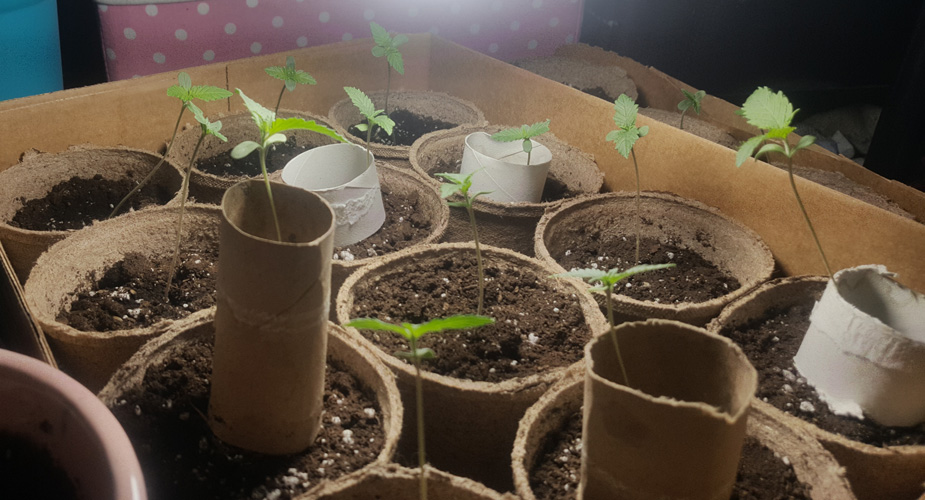
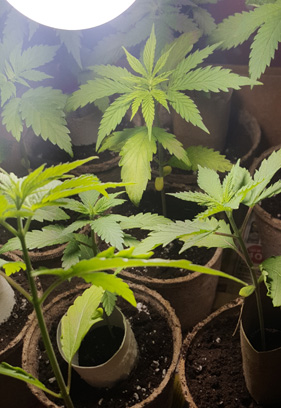
They grew to about 4 inches on the surrounding pots, and about 2-3 near the source of light. On the photo to the right, you can even see the beginning of the next set of leaves coming in. They’re in the center, and sprouting out over the two smooth bottom leaves, perpendicular to the jagged leaves. Now, if you’re keeping track, that’s the bottom level with the smooth round leaves, the second level with the jagged and sharp ending, and then, of course, the third level with the three fingered leaves! But first, to sort through how I handled the stretch.
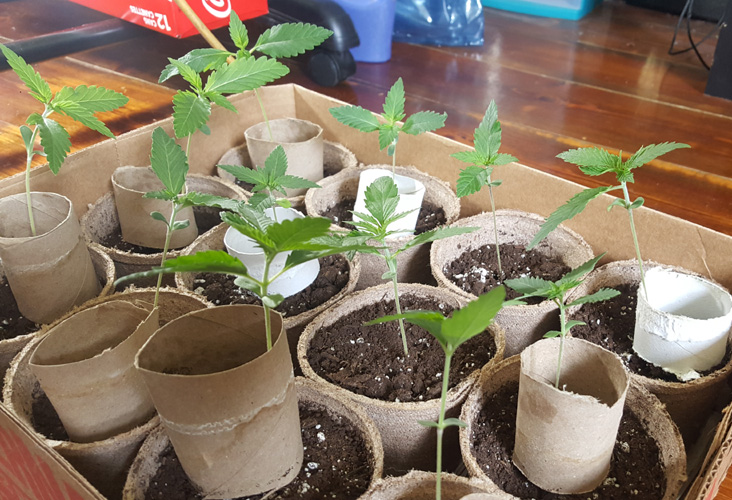
Toilet paper tubes! They began to reach heights that had them leaning too far on thin branches, so I supported them with toilet paper rolls. I was afraid of tying anything to them and strangling the branches, so this seemed like the best option. Once they have to go in the ground, I can easily cut them in half and just remove them that way. Now, over the next two weeks, a lot of growth took place…
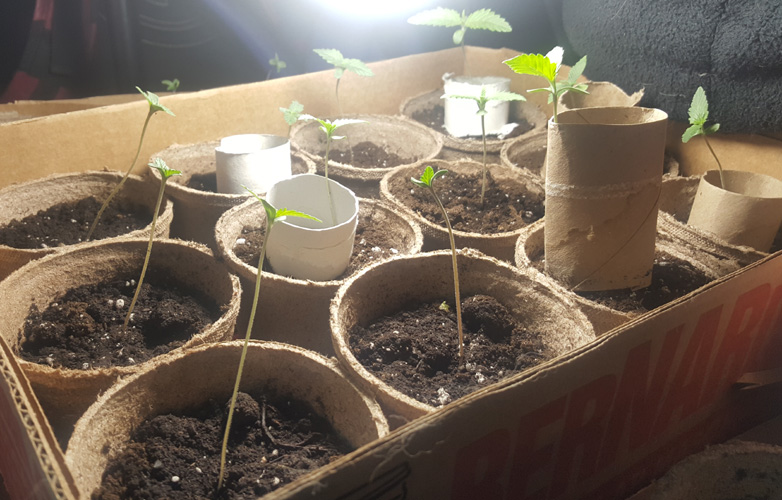

Looks messy, right? But they had begun to grow the next phase of leaves. The jagged leaves had all grown larger to absorb more of the light for photosynthesis (if I remember my grade 3 science class correctly), and finally begin more leaf processing. Eventually I had my first photo-worthy set of leaves!
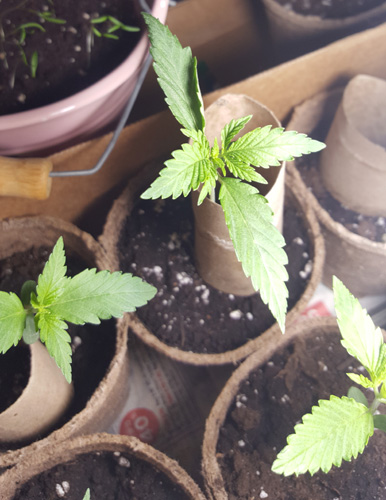
As can be seen in the next photo, the sizing up of the foliage forced more pressure on the stem. It seemed though, in the end, that it has ended up making a slightly stronger stem. I’m yet to figure out if the pros outweigh the cons of that pressure. Regardless, even the one source of light has supplied an excellent amount of growth!
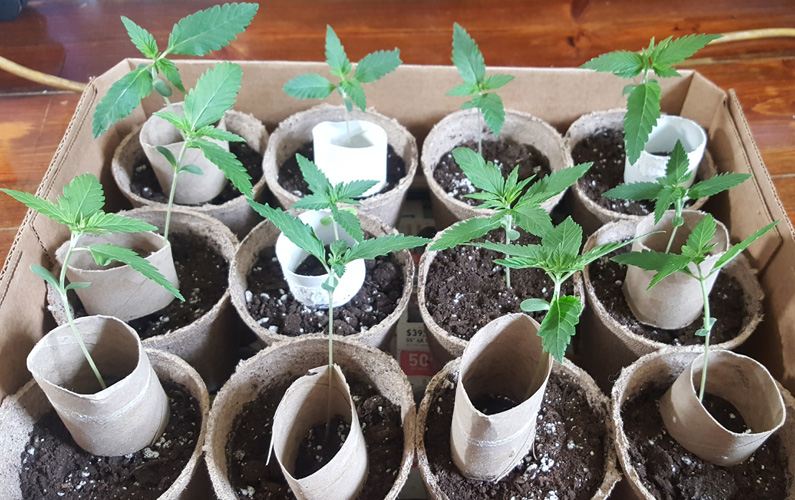
By May, they’d grown about 3 stages of big leaves: the first having 3 sets of fingers, the next level having 5, and then the new set that is being grown have 7, much like people associate with cannabis. It looks like a few of these plants may actually possess what it takes to survive a transplant.


Currently, I’m worried because of the source of light. The single 100W bulb that I have been using the past month has surpassed its worth by the looks of it.
The lower leaves are starting to turn a yellower shade of green, which from my research says there is a nitrogen deficiency. I feel it may have to do with being
so far from the light compared to the other leaves. A large part of my wants to place them in the ground this first weekend of May, but the temperatures are just a
bit cool still, and it has been a very rainy few weeks. I will probably try and wait out the temperature as long as possible, but each inch I watch my plants stretch
taller hurts all the more. Just think of the root systems in those tiny little pots!
My worries now consist of the light source being unable to supply the nutrients my plants need, as well as the angle a few of the further plants are getting on to
get the best angle of light. My hopes are they’ll go straight when they’re all in the ground and reaching for the same light source.
Back to Canadian Outdoor Cannabis